This project is designed to teach you how to use your Arduino to control an LED. By the end, you’ll understand how to wire a simple circuit and upload a program that blinks an LED on and off.
No programming experience is needed to follow this manual.
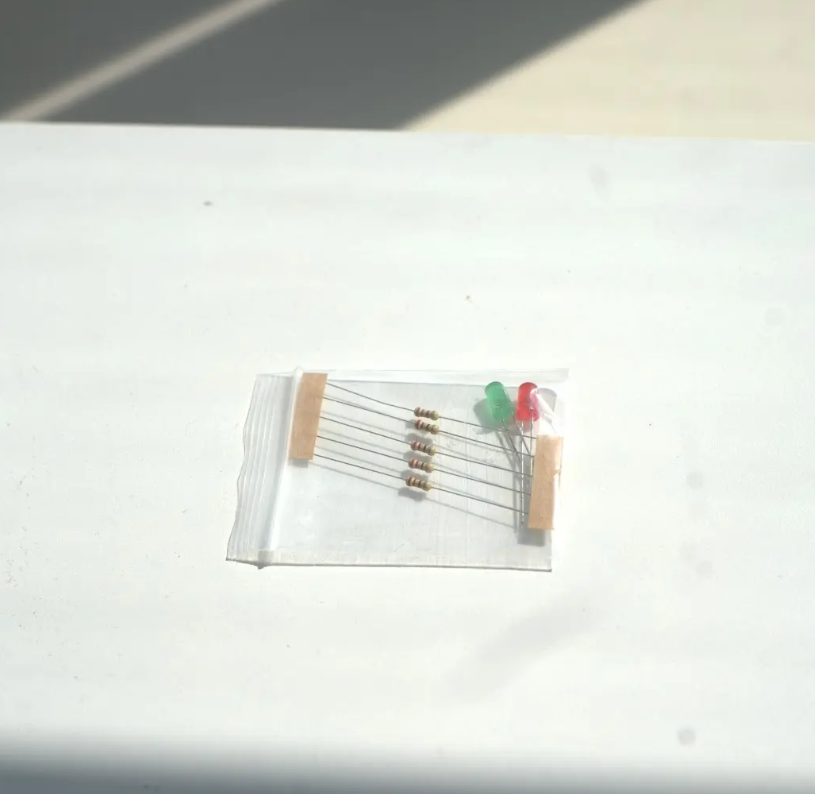
Materials Needed
– 1 Arduino Uno (or compatible board) – 1 LED (any color) – 1 Resistor (220 ohms recommended) – Breadboard – Jumper wires – USB cable for programming the Arduino
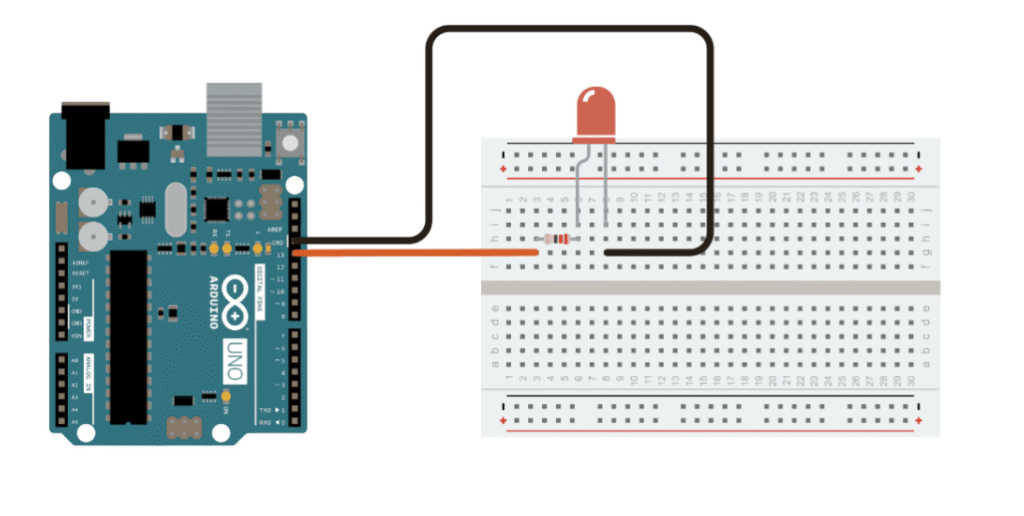
Step 1: Connect the Circuit
1. Place the LED on the breadboard. The longer leg (anode) is the positive side. 2. Connect a resistor to the short leg (cathode) and then to the GND pin on the Arduino. 3. Connect the longer leg (anode) to digital pin 13 using a jumper wire. 4. Ensure all connections are secure.
Robotics Kit Manual: Flashing LED Lights with Arduino
Step 2: Upload the Code
Open the Arduino IDE on your computer and paste the following code: void setup() { pinMode(13, OUTPUT); } void loop() { digitalWrite(13, HIGH); // Turn LED on delay(500); // Wait for 500 ms digitalWrite(13, LOW); // Turn LED off delay(500); // Wait for 500 ms }
How the Code Works – pinMode(13, OUTPUT) sets pin 13 as an output pin. – digitalWrite(13, HIGH) sends 5V to the LED, turning it on. – delay(500) pauses the program for half a second. – digitalWrite(13, LOW) turns the LED off. – The loop() function repeats this on-off cycle endlessly.
Robotics Kit Manual: Flashing LED Lights with Arduino
Troubleshooting Tips – Make sure your LED is placed the right way (long leg = positive). – Double-check the resistor connection to GND. – Confirm you’re uploading to the correct COM port in the Arduino IDE. – If nothing lights up, try using a different digital pin and update the code accordingly.
Challenge: Try This! – Add a second LED on another pin and make them blink alternately. – Try changing the delay times for a faster or slower blink. – Use the `millis()` function for more advanced timing control.